How to Properly Prime a New Vape Coil for Best Performance?

Time:2026-06-29 Author:Liam
0%

When new vapers dive into the world of vaping, the importance of proper coil priming often goes unnoticed. Understanding how to prime a new vape coil correctly is essential for maximizing flavor and ensuring a smooth experience. Improper priming can lead to dry hits, burnt taste, and decreased coil lifespan. This process is not just a simple task; it requires attention to detail and a bit of understanding.

Many vapers overlook the significance of saturating the wick material. Wicks must absorb e-liquid adequately before use. A common mistake is to rush this step, thinking it won’t have a significant impact. However, taking the time to prime effectively can dramatically improve performance. Watching the bubbles rise in your e-liquid after priming adds a satisfying element to the process.

Remember, there is no one-size-fits-all approach. Each coil and device may require different priming techniques. Experimentation can lead to a better understanding of your equipment. By mastering how to prime a new vape coil correctly, you enhance your vaping experience, allowing for fuller flavors and longer-lasting equipment. Taking the extra time to get it right is always worth it.
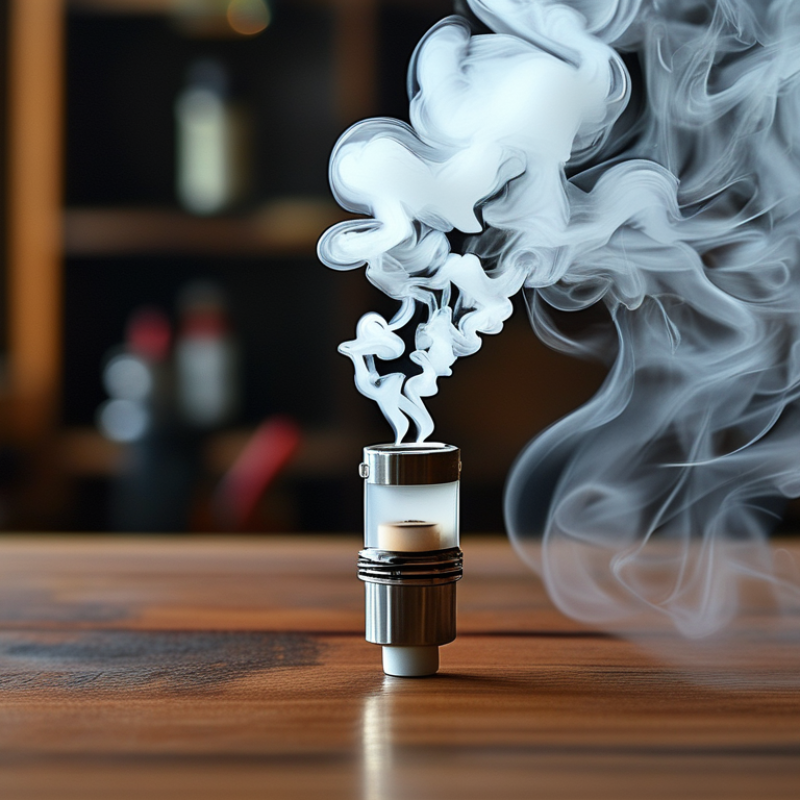
How to Properly Prime a New Vape Coil for Best Performance?

Understanding the Importance of Priming a New Vape Coil

Priming a new vape coil is crucial for achieving optimal performance. When the coil is dry, it can lead to burnt hits and unpleasant flavors. Proper priming ensures that the wicking material absorbs e-liquid effectively. This process prevents coil damage and enhances the overall vaping experience.

To prime a coil, start by saturating the wick material with e-liquid. This means applying e-liquid directly onto the cotton. Make sure to avoid over-saturation, as too much liquid can flood the coil. Then, let the coil sit for a few minutes. This waiting period allows the juice to penetrate the wick thoroughly, ensuring that every part is moist.

Even with priming, inconsistencies can occur. Sometimes the coil may still taste burnt initially. This can happen if the coil wasn’t adequately primed or if the wattage settings are too high. Experimentation may be necessary to find the right balance. Being patient and taking time during the priming process can lead to a better vaping experience overall.

Gathering the Necessary Tools and Supplies for Priming

When priming a new vape coil, having the right tools and supplies is crucial. The process ensures optimal performance and longevity of the coil. Users should gather a few essential items before starting. You’ll need e-liquid, a syringe for precision, and paper towels to catch any spills.

Research indicates that proper priming can enhance coil lifespan by about 30%. This reduction in premature burnout is significant in the vaping community. The e-liquid used should match the coil's specifications. Many vapers overlook this detail. It’s essential to avoid thicker liquids for coils designed for standard e-liquids.

During the priming process, the coil should be soaked completely. Some users fail to adequately saturate the cotton, leading to dry hits. This experience can deter even seasoned vapers. Monitoring the saturation time, generally 5 to 10 minutes, is important. Rushing this step may result in a disappointing vape experience. Fluid consistency and saturation strategy are key for any serious vaper.

Step-by-Step Guide to Properly Prime Your Vape Coil

When it comes to vaping, priming your new coil is essential for optimal performance. Proper priming helps ensure even e-liquid absorption, which can enhance flavor delivery and prolong coil life. Many vapers overlook this step, leading to burnt hits and poor experiences. Industry reports suggest that properly primed coils can last up to 50% longer than those that are not.

To start, remove the coil from the tank. Apply a few drops of e-liquid directly onto the cotton wick, focusing on the exposed parts. This process allows the cotton to absorb the liquid more efficiently. Filling the tank and letting it sit for about five to ten minutes is advisable. This waiting period ensures that the cotton is fully saturated before inhalation.

Tips: Always check for dry spots on the wick before use. Using a lower wattage for the first few puffs can prevent overheating. Many users find that if they experience a burnt taste, their coil most likely needed better priming. Always consider your e-liquid's viscosity as thicker liquids may require more time to saturate properly. These practices can dramatically improve your vaping experience and reduce coil replacement frequency.

How to Properly Prime a New Vape Coil for Best Performance?

Step Description Duration
1 Remove the tank and replace the coil 5 minutes
2 Saturate the wicking material with e-liquid 2-3 minutes
3 Reattach the tank and let it sit 5-10 minutes
4 Take dry hits to ensure proper saturation 2 minutes
5 Adjust wattage and start vaping As needed

Tips for Ensuring Optimal Performance After Priming

Priming a new vape coil is crucial for achieving optimal performance. After you've soaked the coil with e-liquid, it’s time for careful consideration. Allow the coil to sit for a few minutes. This step seems simple, yet many skip it. Waiting too short could lead to dry hits and a burnt taste. Patience is key when priming.

After priming, start your device at a lower wattage. This helps the wick absorb the e-liquid evenly. Gradually increase the wattage to your preferred setting. Avoid jumping straight to high power. This approach prevents overwhelming the wick and ensures a smooth vaping experience. Listen for any strange sounds; they might indicate issues with the coil or wattage settings.

Remember, regular maintenance is necessary even after priming. Clean your tank frequently to avoid residue build-up. Monitor your e-liquid levels to prevent the coil from drying out. This ongoing care can influence your coil's lifespan. Vaping should always be an enjoyable experience, so pay attention to how the device feels. Small adjustments can make a big difference.

Vape Coil Priming Efficiency

This chart represents the performance ratings of vape coils based on different priming techniques. Proper priming yields the best performance, while insufficient or over priming results in lower efficiency.

Common Mistakes to Avoid When Priming Vape Coils

Priming a new vape coil is crucial for optimal performance. Many users, however, make common mistakes during this process. One prevalent error is skipping the waiting time after saturating the wick. Research indicates that allowing the coil to soak for at least 10-15 minutes significantly improves flavor production and reduces the risk of dry hits. Without adequate priming, users may find themselves facing burnt taste and diminished vaping experience.

Another common mistake is overfilling the tank. This can lead to leakage and messiness. Reports show that 30% of vapers experience leakage during usage. Overfilling can cause eliquid to enter the airflow holes, affecting the coil's performance. Instead, fill the tank only to the recommended level, ensuring the wick has enough eliquid without risking overflow.

Some vapers also ignore the importance of using the right eliquid viscosity. High-VG liquids can take longer to saturate a wick, particularly in sub-ohm devices. A study found that optimal eliquid viscosity correlates with a 40% increase in coil lifespan when properly primed. Users should select a blend that matches their hardware specifications to enhance their overall vaping experience.

FAQS

: Why is priming a new vape coil important?

: Priming ensures the wick absorbs e-liquid, preventing burnt hits and improving flavor.

How do you properly prime a vape coil?

Saturate the wick with e-liquid. Avoid over-saturation; let it sit for a few minutes.

What can happen if I don't wait long enough after priming?

Skipping the wait can lead to dry hits and unpleasant, burnt flavors.

Should I adjust the wattage immediately after priming?

No, start at a lower wattage. Gradually increase to allow even absorption of e-liquid.

What unusual signs should I listen for while vaping?

Strange sounds can indicate problems with the coil or wattage settings.

How can I maintain my vape coil after priming?

Clean your tank regularly and monitor e-liquid levels to avoid drying out the coil.

Is experimentation necessary after priming?

Yes, you may need to adjust settings for optimal flavor and performance.

What if my coil still tastes burnt after priming?

Check your priming process and wattage settings; they might need adjustments.

Can skipping coil maintenance affect my vaping experience?

Yes, neglecting maintenance can shorten coil life and alter flavor quality.

How can I tell if my vape device feels right after adjusting?

Pay attention to the flavor and overall experience; small tweaks can lead to better results.

Conclusion

When learning how to prime a new vape coil correctly, it is essential to understand the significance of this process in enhancing performance and lifespan. Proper priming ensures that the coil is saturated with e-liquid, preventing dry hits and extending usage. Begin by gathering necessary tools and supplies, such as e-liquid and a paper towel, to facilitate the process.

The step-by-step guide involves removing the coil from the tank, applying e-liquid to the cotton wicking material, and letting it soak for a few minutes before reassembling the vape. To ensure optimal performance post-priming, users should start with lower wattages and avoid rapid inhalation. Additionally, avoiding common mistakes—like neglecting to fully saturate the wick or using overly high temperatures initially—can enhance the vaping experience significantly. By following these guidelines, you can enjoy a satisfying and flavorful experience with your vape.

Liam

Liam

Liam is a dedicated marketing professional with a profound expertise in the industry, where he excels at highlighting the unique advantages of our core products. With a keen understanding of market trends and consumer needs, Liam frequently updates our company’s professional blog, providing......